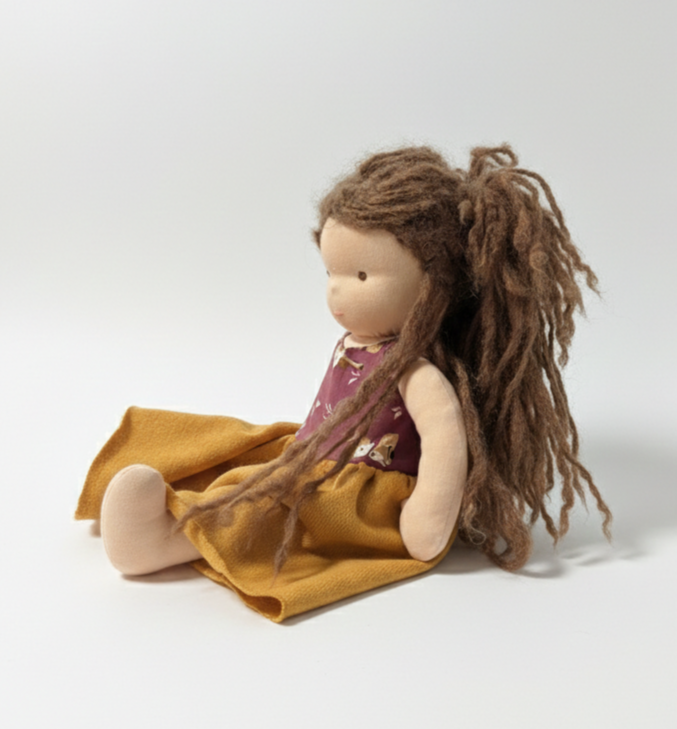
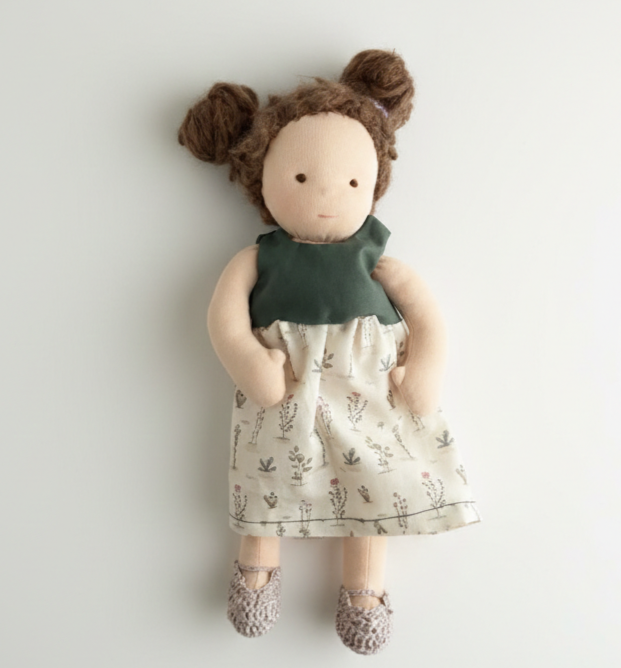
My First Doll
Background
Some time ago, while visiting my sister-in-law, my daughter spent the afternoon playing with some of their dolls. I was surprised to find out they were handmade by my sister-in-law herself—they looked absolutely awesome!
Later that evening, my daughter told me how much she loved them and how much she would like to have one of her own. Well, that was all the motivation I needed to start my journey into doll making! I don’t have much sewing experience, but it seemed like a fun challenge, so I decided to give it a try.
Preparation and the First Steps
After researching what I thought I’d need, I placed my order. While waiting for the materials to arrive, I spent my time watching YouTube tutorials on how to form the head and structure the features. By the time the package arrived, I felt ready to dive in.
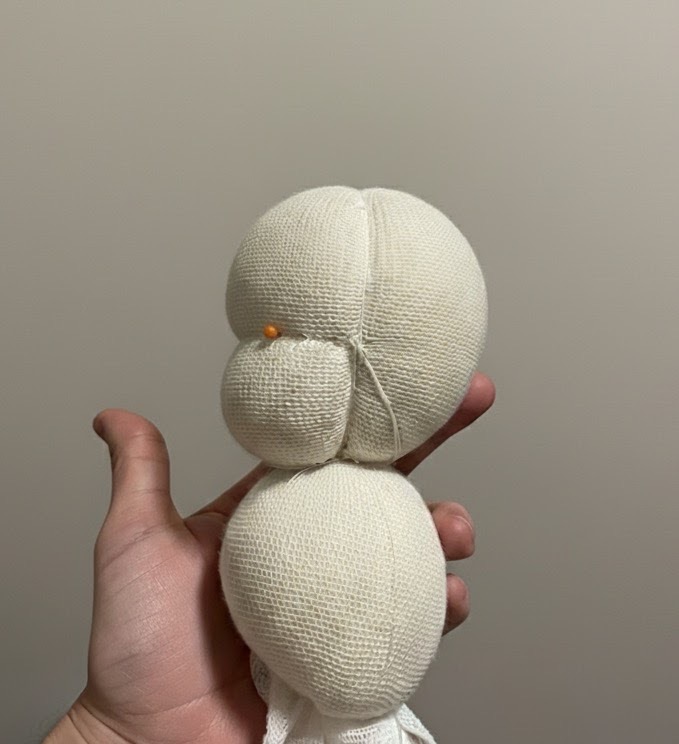
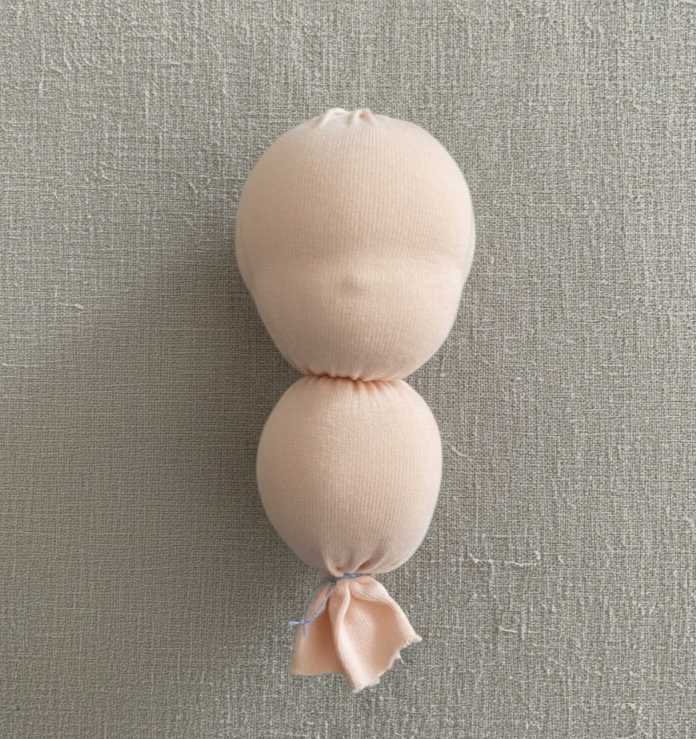
For the head, I followed a few detailed tutorials that showed every step of the shaping process. Once I had the basic head shape, I moved on to the nose. This is where I encountered my first hurdle: I didn't have any embroidery thread. I tried using simple sewing yarn instead, but it was far less efficient. In the end, I used a mixture of techniques—partially embroidering and partially trying to lift the wool with my stitches to form the right size nose.
Lessons in Fabric and Stretch
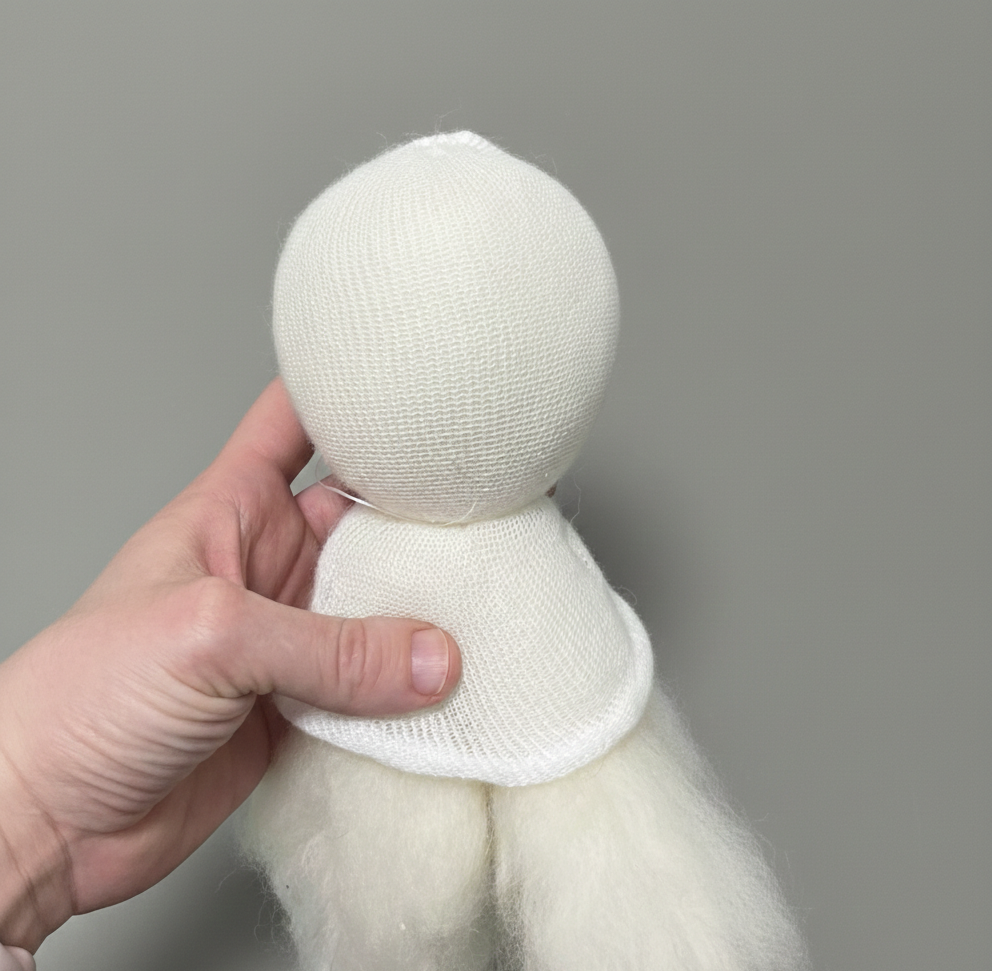
Next came the head covering, which led to a major realization. The fabric I ordered was beautiful, but it had no stretch at all. Live and learn, I guess! Because I was impatient and highly motivated, I pressed on anyway. The result wasn't terrible, but the lack of stretch meant unavoidable wrinkles around the neck. It’s a detail that’s still visible, but a great lesson for next time.
Designing the Body
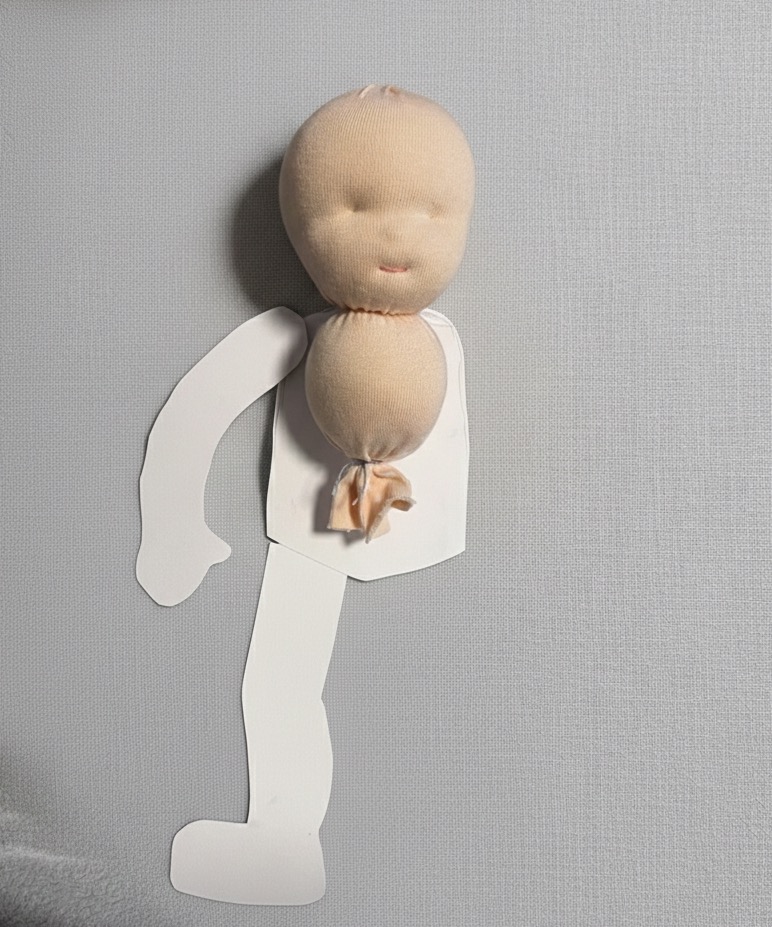
At this point, I didn’t own any patterns or books on Waldorf-style dolls; my knowledge was purely based on those few videos. I decided to create my own pattern by sketching a simple design on thick paper and laying the pieces next to the head to check the proportions. After some fine-tuning, I had my pattern ready for sewing and stuffing.
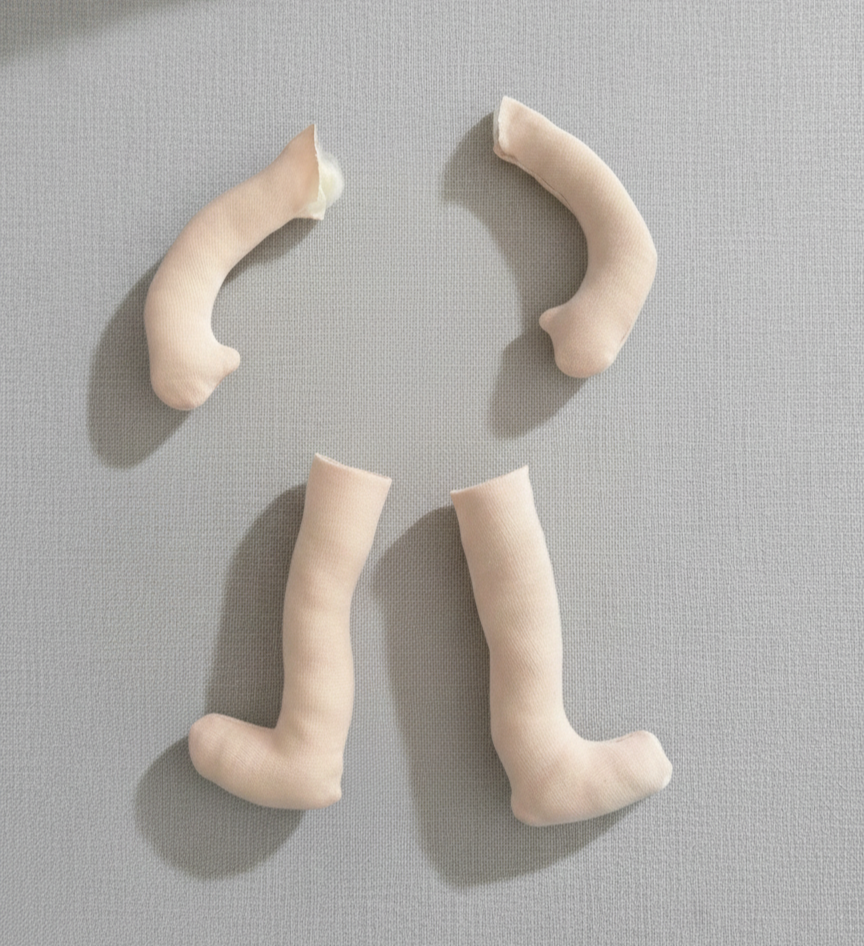
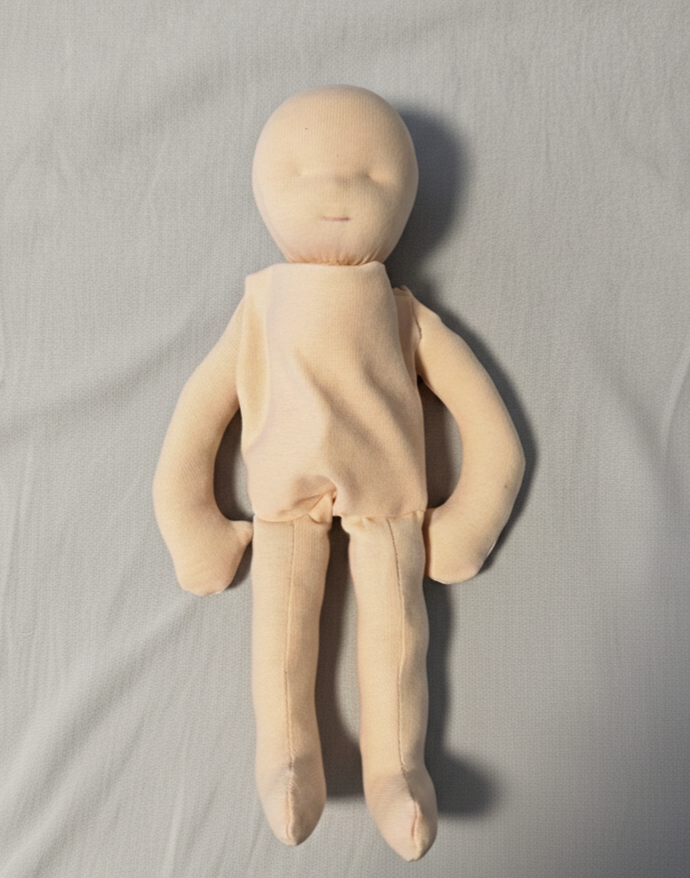
During the filling process, I realized that even though the fabric wasn't stretchy, the upper body still turned out a bit too wide, making the doll look a little "puffy." Most other parts turned out fine, but then came the next mistake: the arms. I used a gathered stitch and attached them to the shoulder in line with the ears. This created a slightly unnatural angle. While it looks perfectly fine in photos, it makes it a bit cumbersome for the doll to "hold" things during playtime. I’ll definitely pay more attention to this in the future, as it heavily affects the "user experience" of the doll!
The Final Assembly
Finally, it was time to put everything together. This was my least favorite part and definitely the skill I need to practice most. My stitches were a bit sloppy and not nearly as invisible as I would have liked—I still have a long way to go!
Once the assembly was finished, I felt incredibly happy and satisfied to have pulled it off. Only the hair was missing, but I’ll save that for my next post. Deep down, I was actually a little sad that the project was coming to an end. I enjoyed the process so much that I already knew I wanted to make more. A lot more.